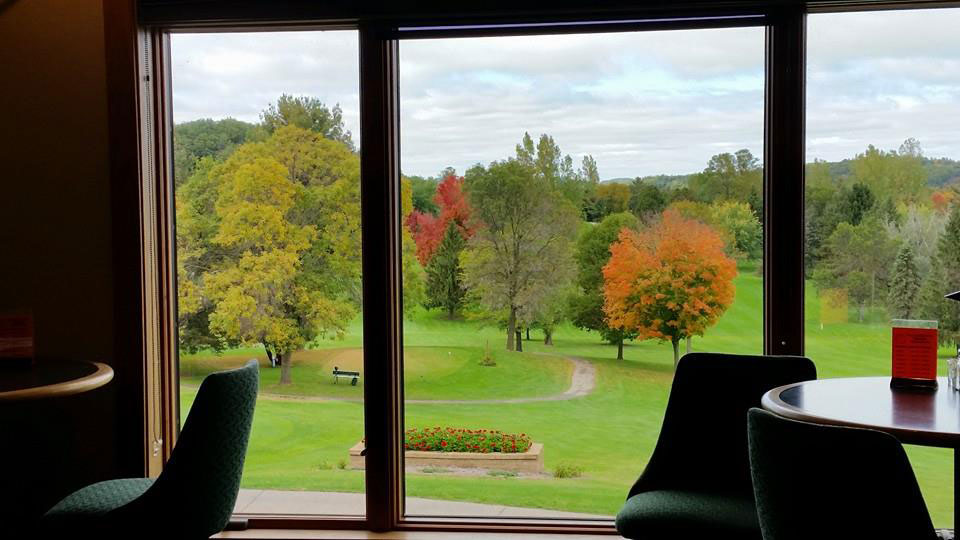
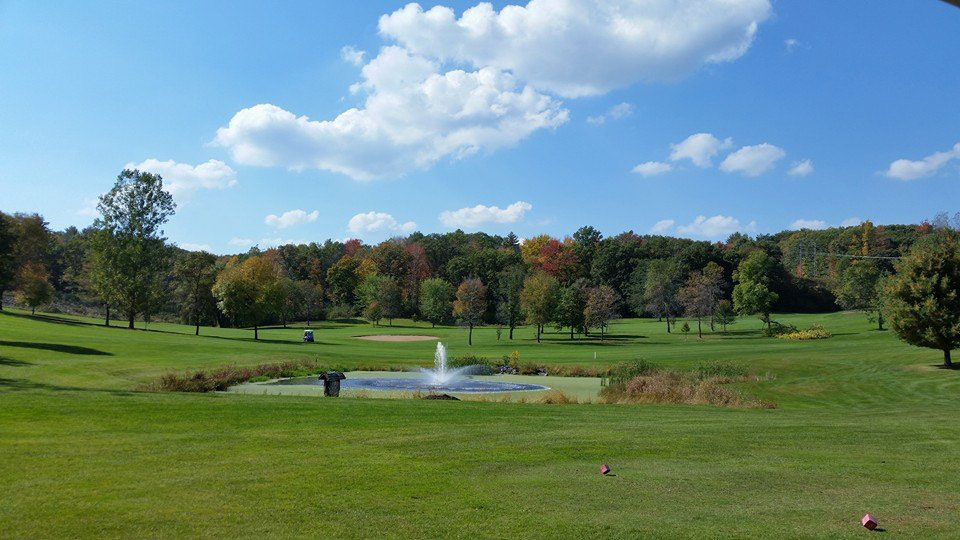
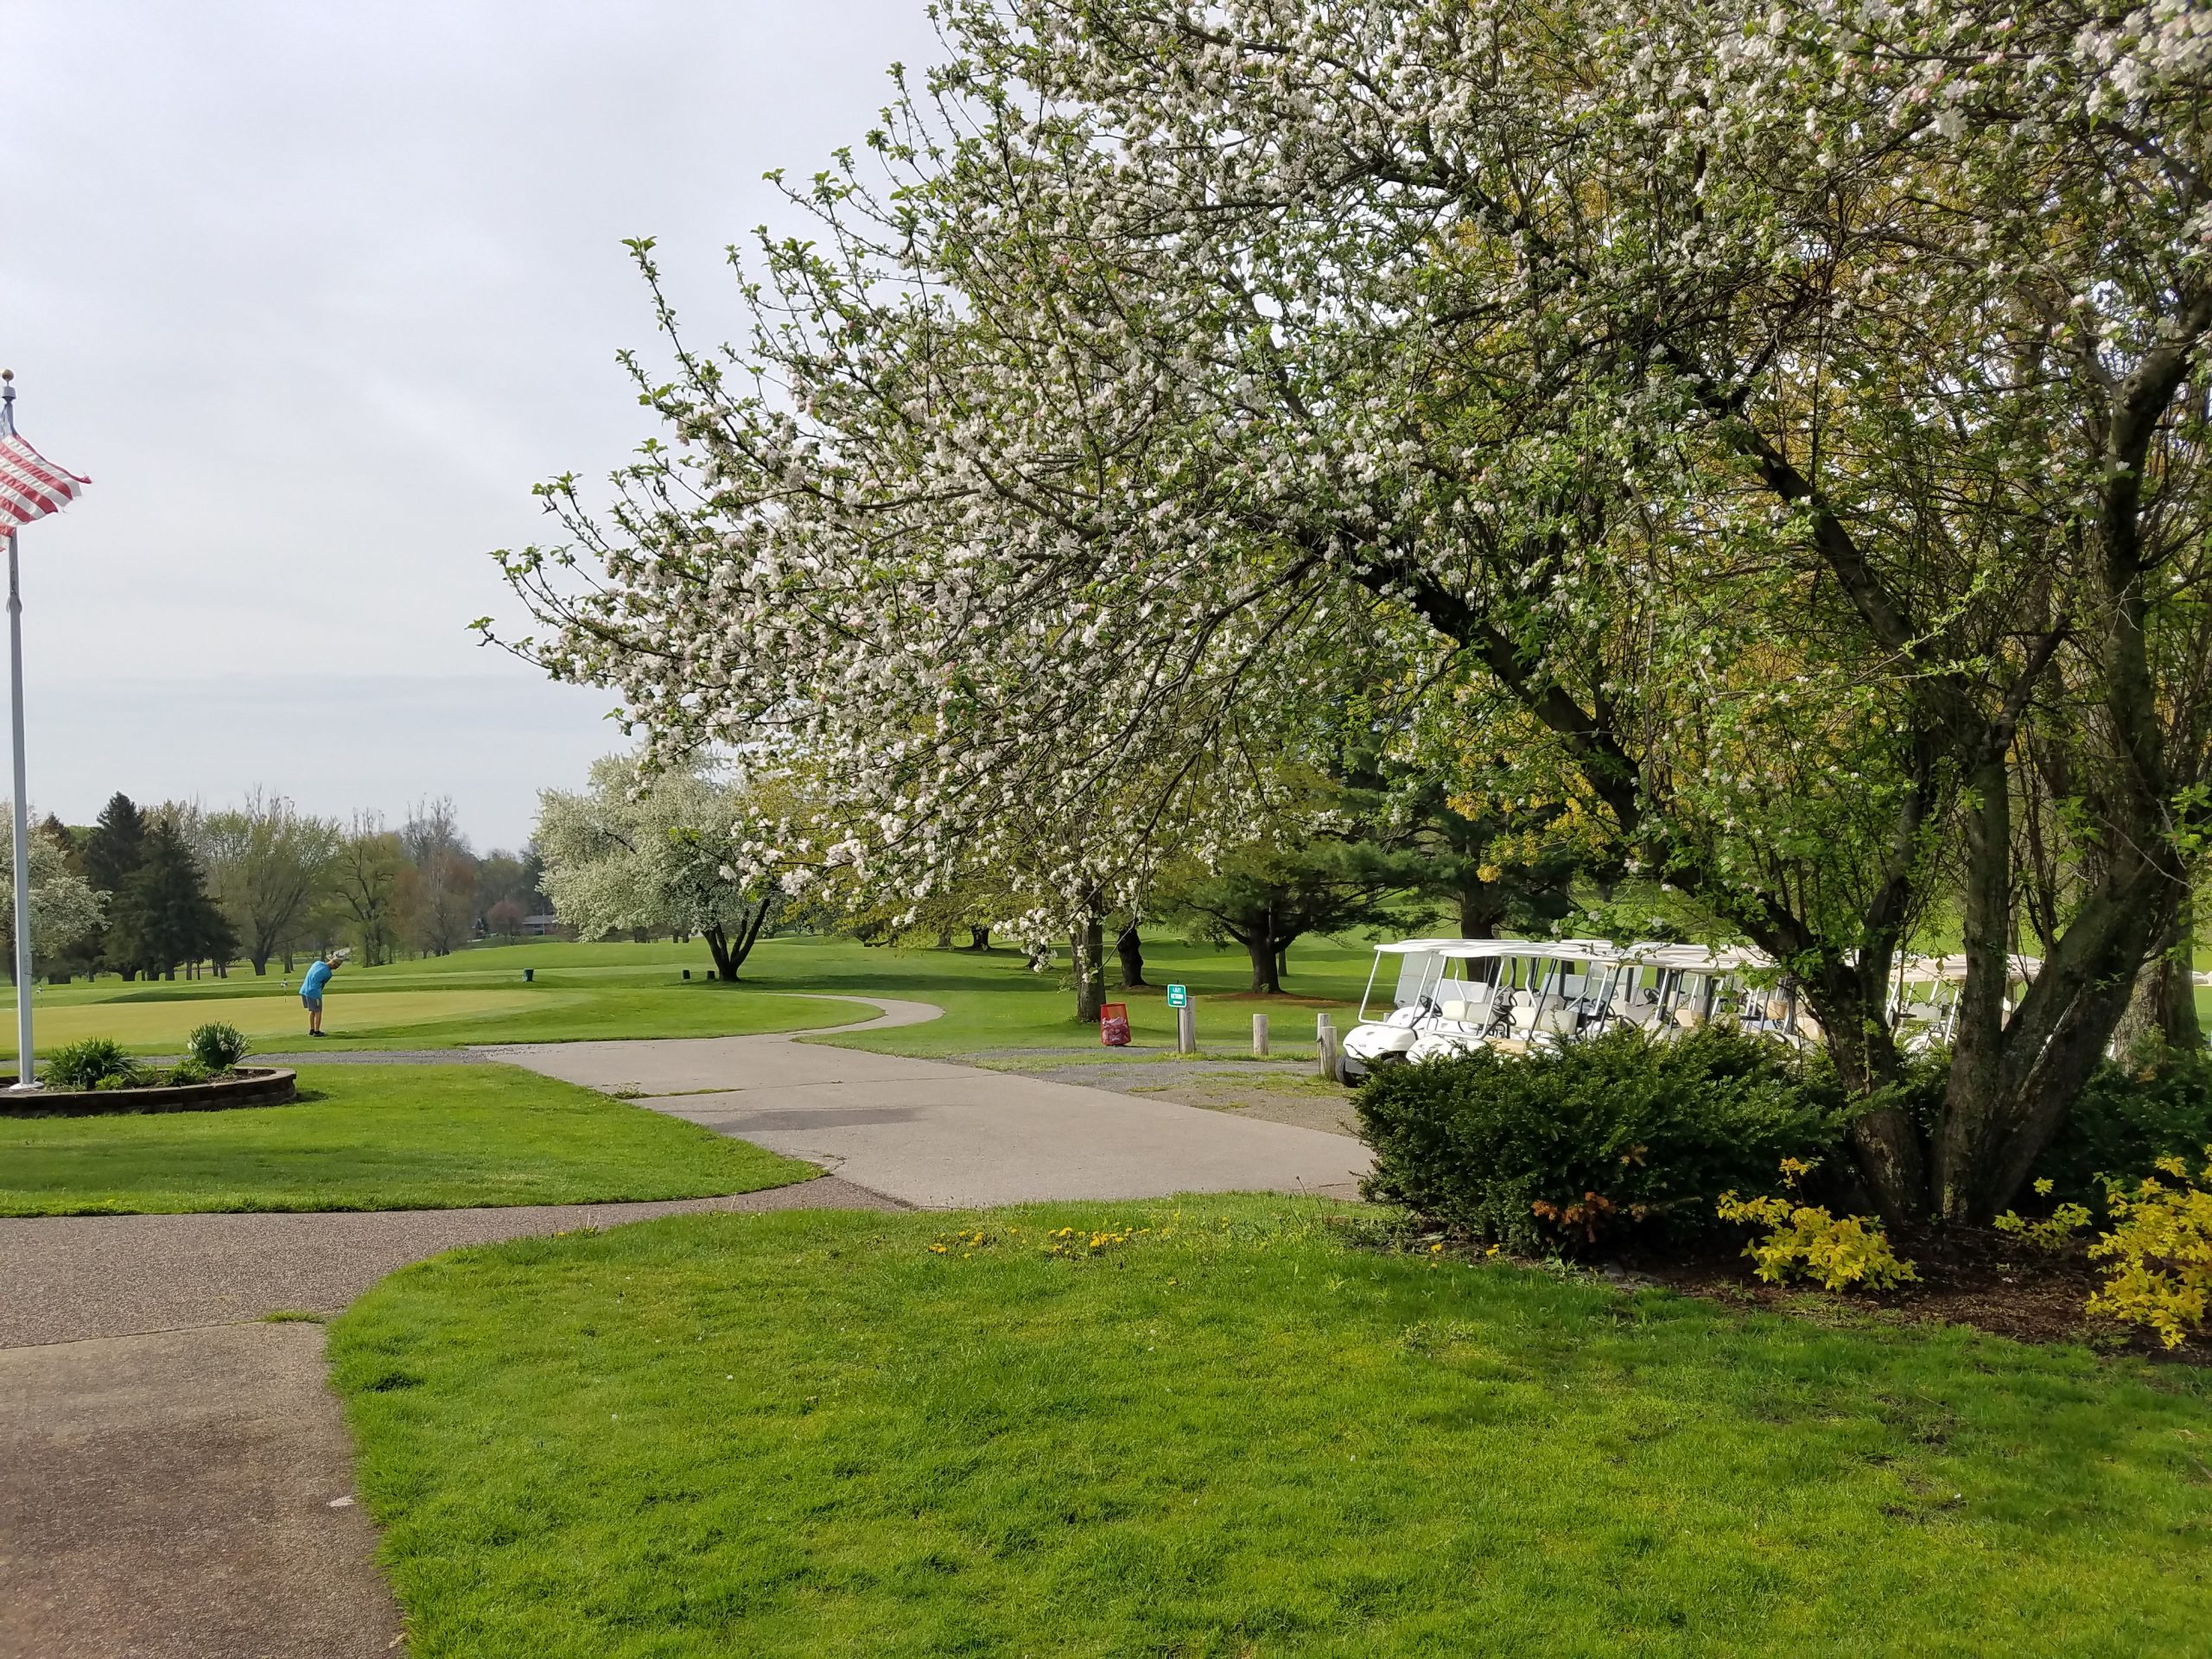
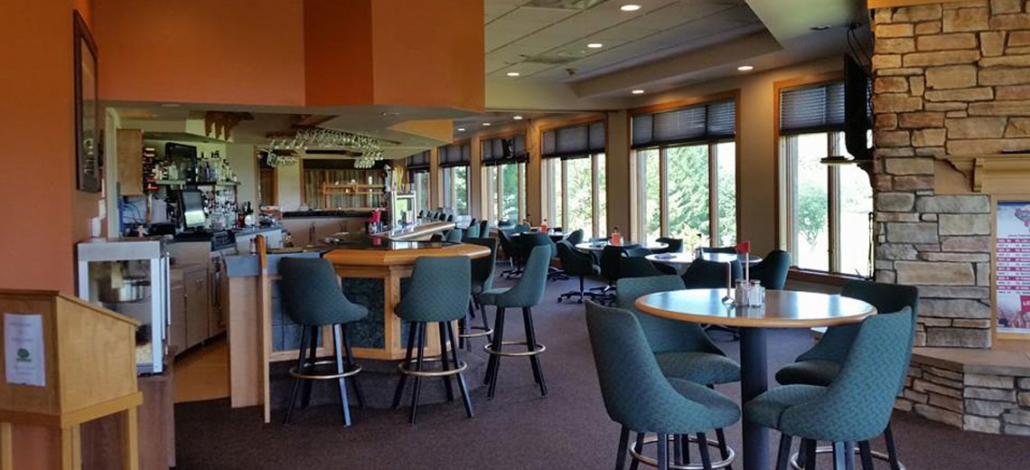
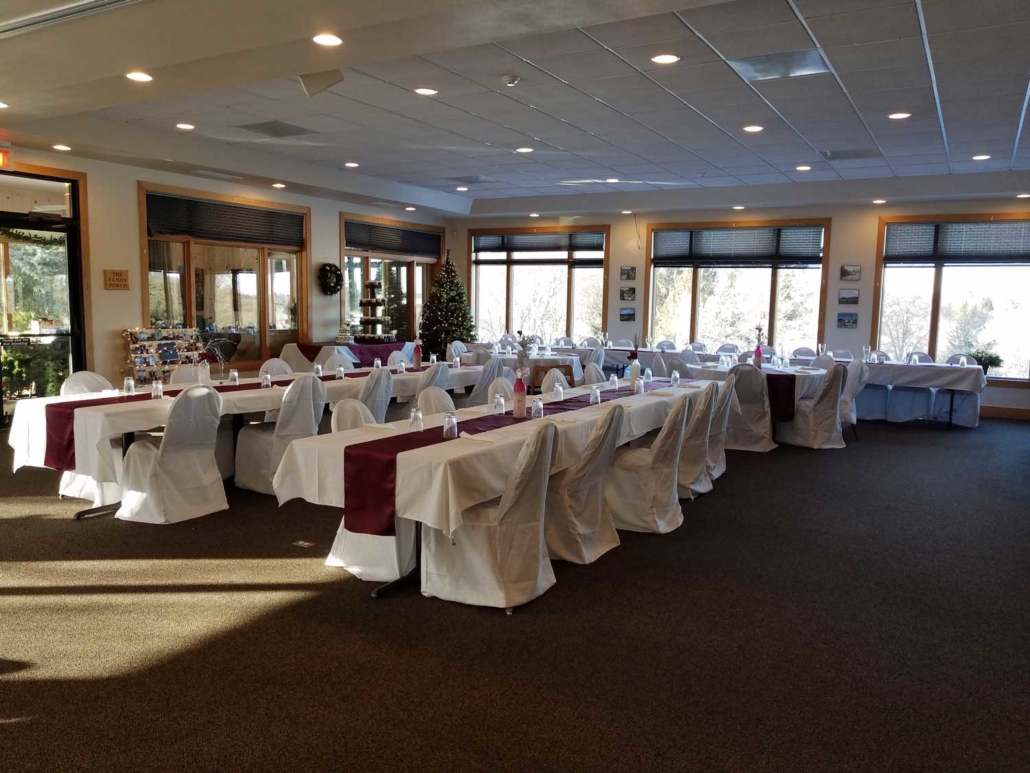
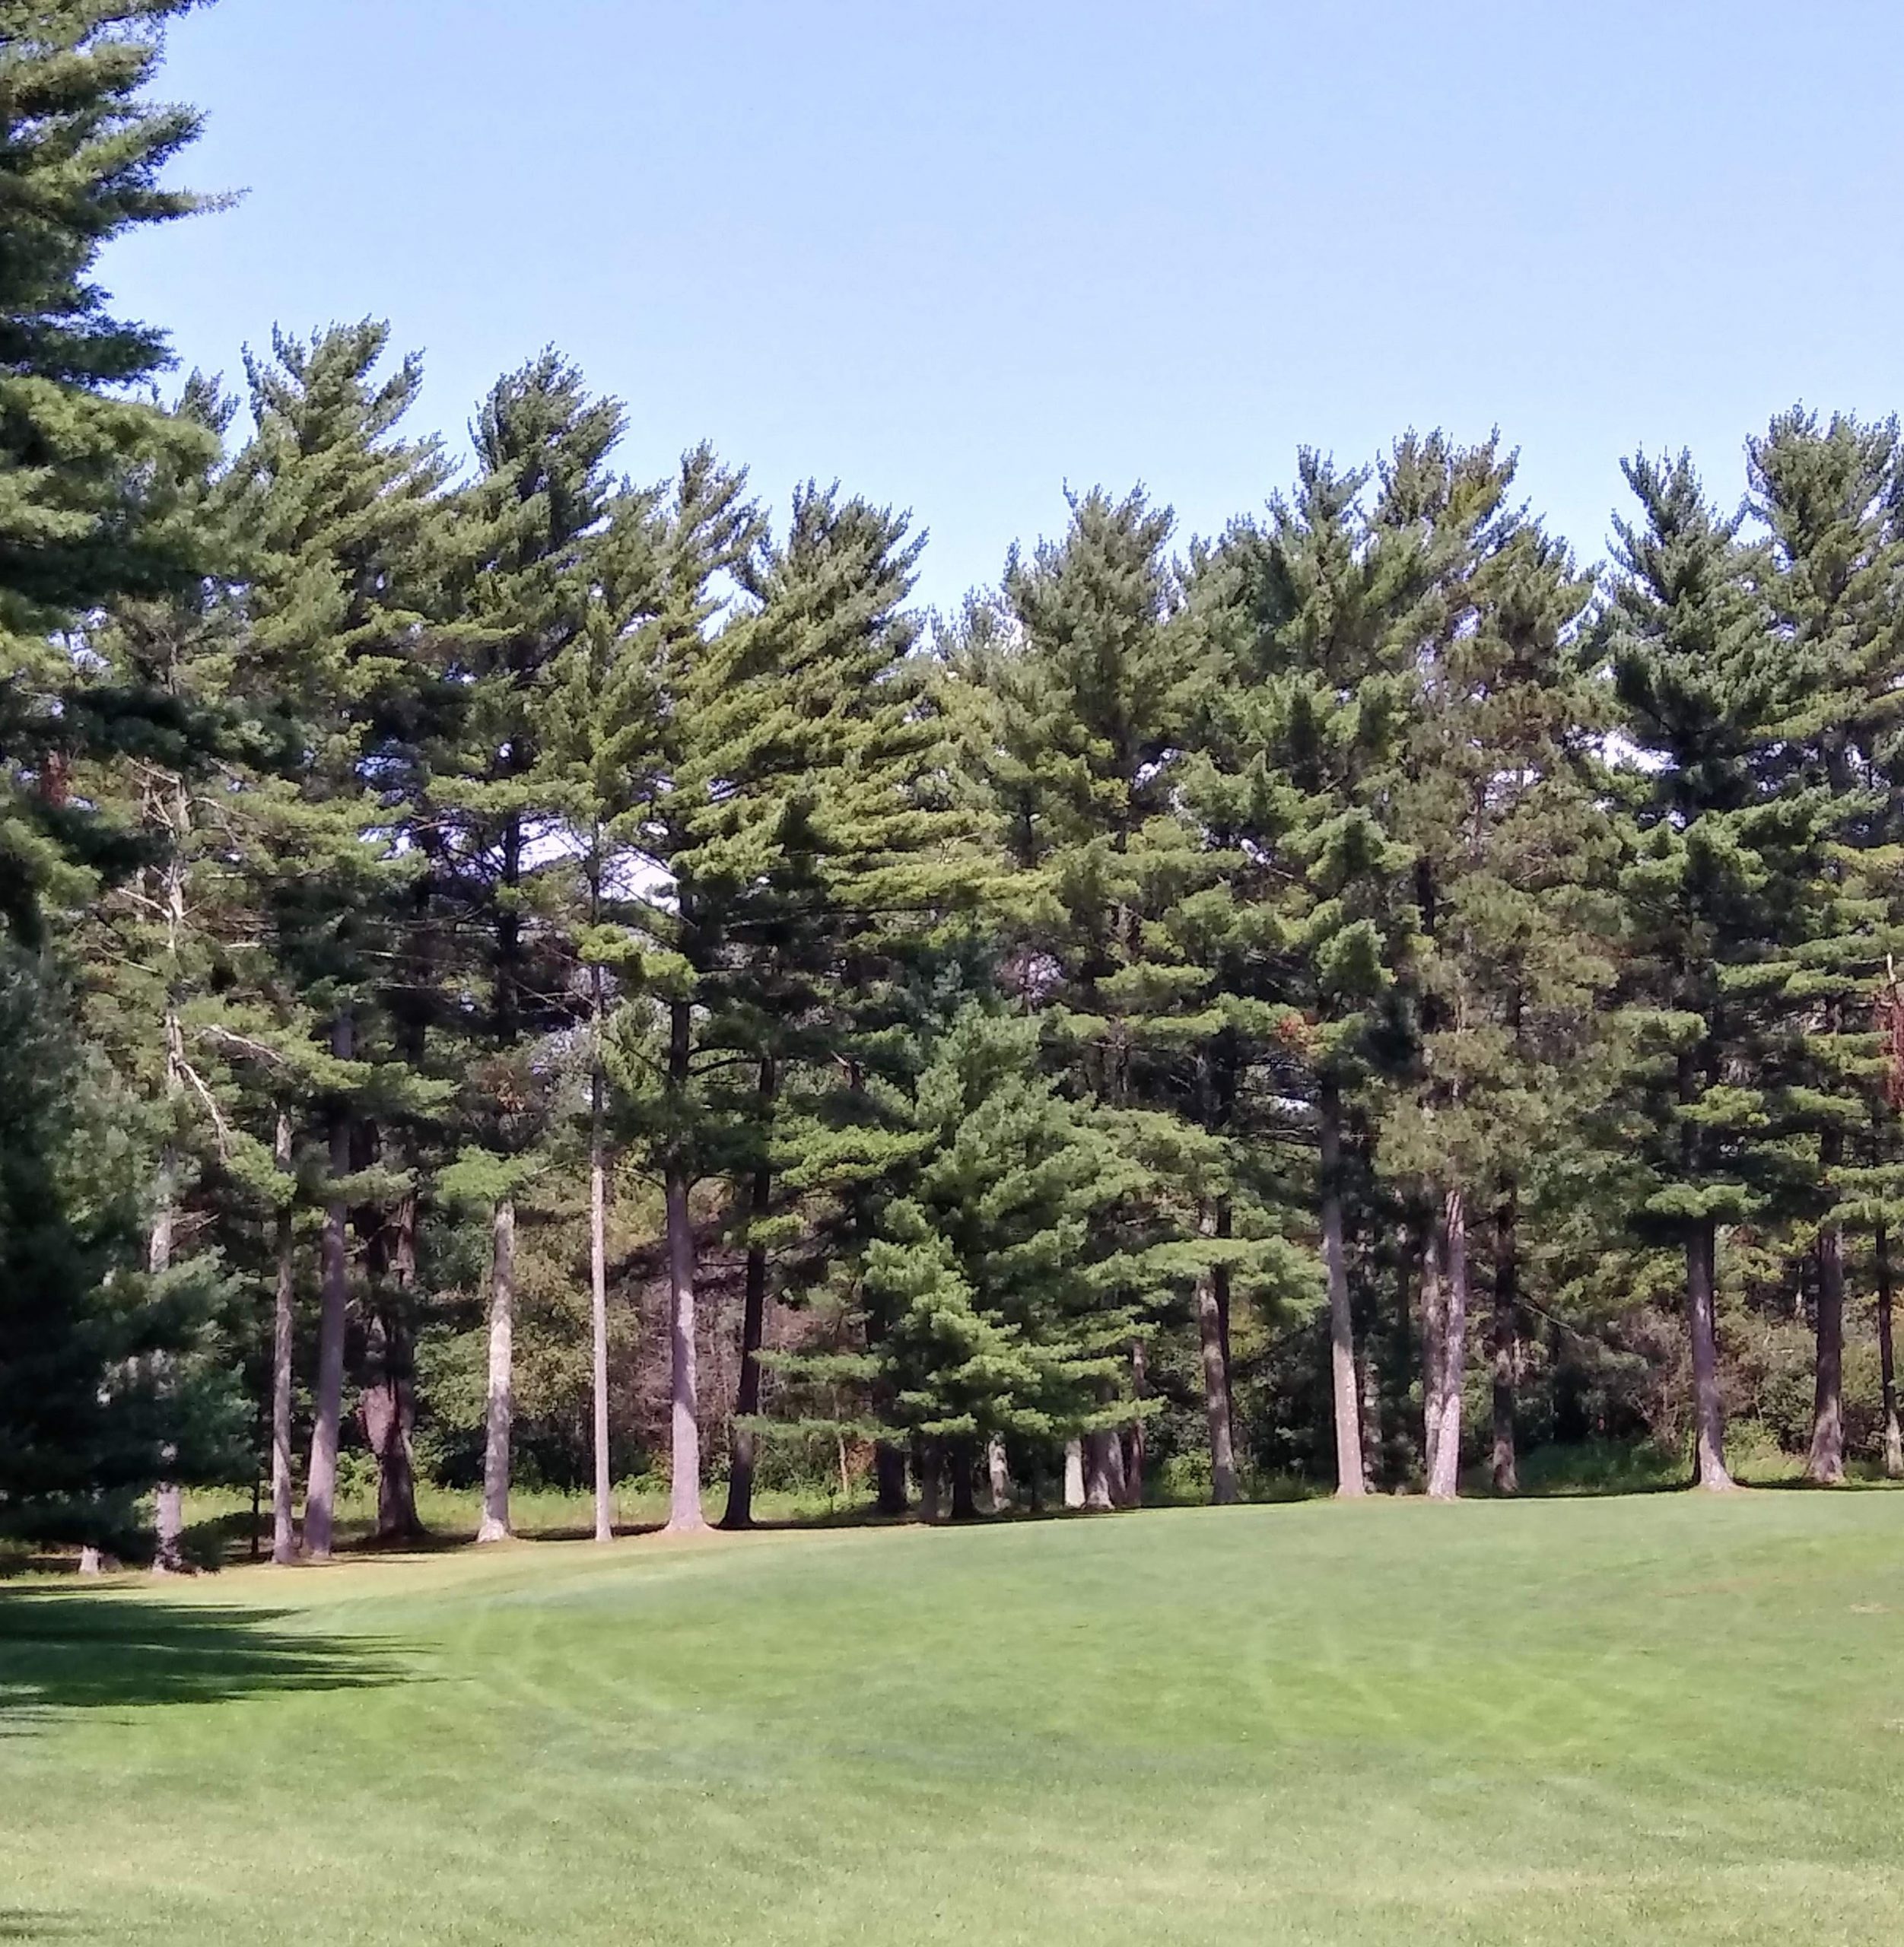
Skyline Golf Club is an 18-hole public golf course dating back to 1957. It is a beautiful combination of wide open fairways on the front 9, with elevation changes, and a back 9 that cuts through a thick pine forest and follows a meandering creek. Our restaurant, offers a full bar and numerous food options to satisfy that hunger you worked up on the course. Our friendly staff will make you feel at home while you enjoy viewing your favorite game on one of our 7 TV’s, or just relax and enjoy the view through our wall of picture windows. Stop in and see us!
Golf Course
Skyline Golf Club
The Best Place to Golf, Dine, Entertain, and Socialize
| Tee Name | Length | Gender | Course Rating/ Slope Rating | Front Nine | Front Nine Par | Back Nine | Back Nine Par | Total Par |
|---|---|---|---|---|---|---|---|---|
| Blue | 6344 | Men | 71.9/132 | 35.9/129 | 36 | 36.0/134 | 36 | 72 |
| White | 5836 | Men | 69.5/125 | 34.7/127 | 36 | 34.8/123 | 36 | 72 |
| Gold | 4920 | Men | 65.3/108 | 32.1/112 | 36 | 33.2/104 | 36 | 72 |
| Red | 4814 | Men | 64.7/107 | 31.8/111 | 36 | 32.9/102 | 36 | 72 |
| White | 5836 | Women | 74.3/134 | 37.2/131 | 36 | 37.1/136 | 36 | 72 |
| Gold | 4920 | Women | 69.2/118 | 34.4/116 | 36 | 35.0/120 | 36 | 72 |
| Red | 4814 | Women | 68.7/117 | 34.2/115 | 36 | 34.5/119 | 36 | 72 |

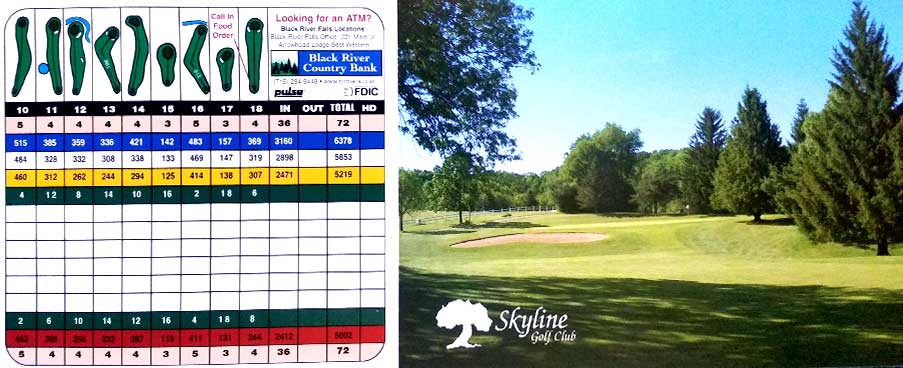
Hole by Hole
Hole #1
The opening hole at Skyline is a 344 yard par 4. Try to favor the left side of the fairway as this simplifies your next shot to the green. A drive right center will leave you with a ticklish approach because of the overhanging tree branches.
Hole #2
This 147 yard par 3 appears innocent enough. Don’t be fooled. A shot off the tee that strays left will leave you a delicate chip, especially if the pin is also left. Go right and you could find yourself faced with a shot under pine boughs and over a bunker.
Hole #3
Like to draw the ball? This 469 yard par 5 is your cup of tea. Long-ballers can bring this hole to its knees by hitting over the trees on the left, but make sure you’ve got the horsepower to reach the fairway. Come up short and you could be in the woods for awhile. A bunker gaurds the left side of the green with a grove of trees lurking right, so use your discretion in your choice of approach shots.
Hole #4
At 283 yards, this picturesque par 4 will test your mettle. Trees lining both sides of the fairway demand an accurate shot off the tee. Go left and you’re probably staring at a bogie. If you go right, try and go far right, as you could find redemption in a crisply hit iron over the trees. Oh, and that tree to the right of the bridge? It is bigger than it looks.
Hole #5
This 526 yard par 5 can break your heart. If you don’t get through your tee shot and end up in the trees on the right, then be advised to take your medicine and punch out to the fairway. Once over the rise and with the green in view, be advised again that this green has a tendency to leak left to right.
Hole #6
A downhill tee shot on this 352 yard par 4 will have you licking your chops. A short iron into the green will have you thinking birdie. Those thoughts might fly away when you get to the green. This is one of the trickiest greens and if the pin is deep left, well, lots of luck.
Hole #7
At 313 yards, this par 4 can be had. Big hitters should have no trouble leaving themselves a short iron into the green. There is a small puddle on the left, but that should be no problem, right?
Hole #8
Try to hit your tee shot to the right side of this 170 yard par 3. It may not look like it from the tee box, but the green on this hole runs hard from right to left. In fact, a well placed shot to the side hill on the right could be your best bet.
Hole #9
Many of the regulars here at Skyline consider this par 4 the most difficult hole on the course. A respectable drive down the fairway might end up halfway down the slope, leaving a difficult second shot. If you smoke one to the bottom of the hill be sure to choose your next club wisely. This hole is 391 yards from the white tees, but it plays longer.
Hole #10
One of the two features that give this 484 yard par 5 some real teeth is apparent at the tee box. Atop the hill, in the middle of the fairway, looms a very large tree. For the long hitters this tree might not pose a problem, but a shorter drive to the middle of the fairway is no cause for celebration. Either over or around; a business decision must be made. Before that decision is made, it might be prudent to journey to the crest of the hill and take a look at this hole’s second feature. The fairway runs left to right and a second shot placed too far right stands a chance of going out of bounds. A sentry placed at the crest might be a good idea before that second swing is initiated.
Hole #11
At 328 yards, this par 4 presents itself as a reasonably simple hole. While there is water left off the tee and a bunker present on the right side of the green, the real fun on this hole really begins on the green. The way the putting surface and the sidehill are conjoined creates an optical illusion. In other words, on some putts, the force of gravity may not apply. Good luck!
Hole #12
While crossing the bridge on the way to this 332 yard par 4, it might be time to consider leaving the head cover on the driver. Starting with this hole, things tighten up and discretion can be the better part of valor, can’t it? Using a more modest weapon off the tee, a well placed drive just past the 150 markers is all you need to the green below. Try to stay center or left center on the tee shot as this opens up the green to a crisp iron shot that has birdie implications.
Hole #13
This 308 yard, par 4 dog leg will bring out the gambler in some. A towering cut over the trees will leave a straightforward pitch to the green and a putt for birdie is assured. The risk in this approach is obvious. Those trees have ruined many a round. A more conservative approach might be the ticket. The knee in this dog leg is at 198 yards. From there, an iron to the green will leave the birdie in play. Risk and reward is certainly something to consider on this hole.
Hole #14
Have a draw in the arsenal? If so, this par 4 should look quite inviting. At 338 yards, a well positioned drive will leave this hole vulnerable to a birdie. 3 wood/eight iron anyone?
Hole #15
It doesn’t take much of a pull or push to get you in trouble on this uphill 133 yard par 3, so take dead aim and swing easy. Club selection is paramount on this hole. A ball hit too long could end up on the bank behind the green. From there, it’s a scary chip to a green that runs hard downhill. Choose wisely
Hole #16
Risk and reward is in play again on this 469 yard par 5. A towering tee shot that cuts the corner and clears the trees will leave a 200 yard shot to the downhill green. A tee shot too far right, no matter how well hit, will never clear the woods. A straightforward tee shot to the corner of the dog leg might be the ticket here.
Hole #17
The large pine to the right of this 147 yard par 3 is known to reject more leaky tee shots than can be logically explained. Take dead aim and commit to the swing. Regardless of the pin placement, a shot to the center of the green is always a good bet.
Hole #18
The home hole, a 319 yard par 4, requires accuracy off the tee. A drive too far left will find a deep gulch. From there, if you’re lucky enough to find your ball, you’ll be looking at a nasty shot out of a lateral hazard. Going too far right will leave you in another gulch and leave you with a shot that will probably take par out of the picture. Pay close attention to the color of the flag on this hole. The green is tiered low in front to high in back which can make for some hair-raising putts.